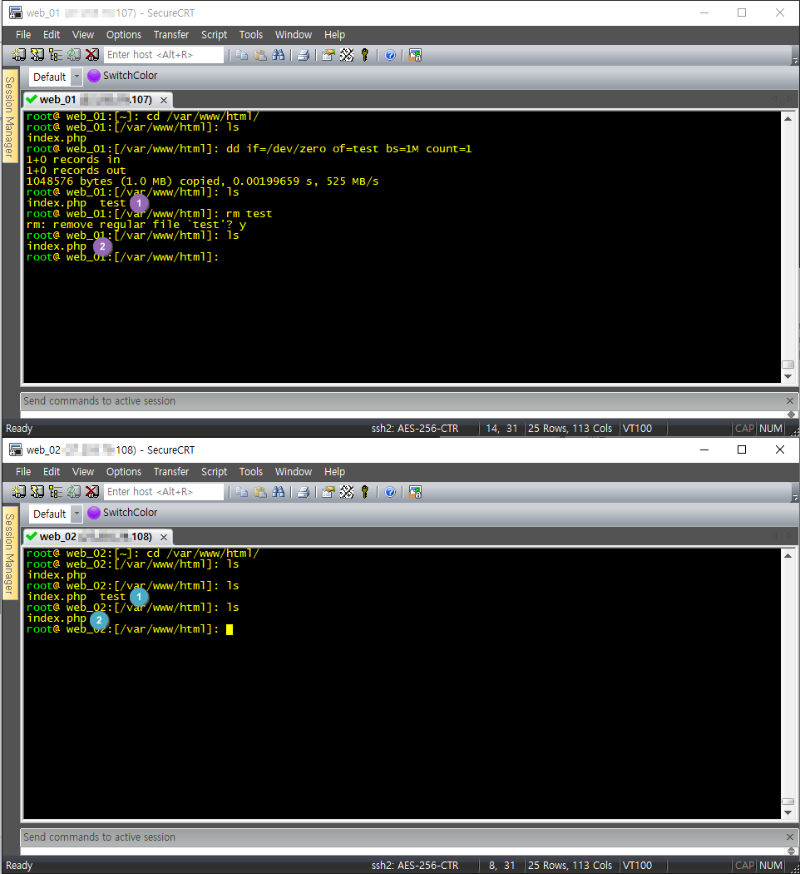
lsyncd 실시간 동기화
https://www.ehostidc.co.kr/cscenter/technical.php?ptype=view&idx=271&… (435)https://www.ehostidc.co.kr/cscenter/consulting.php (376)
Lsycnd server: x.x.x.107
Lsyncd client: x.x.x.108
1) Client rsync 설치
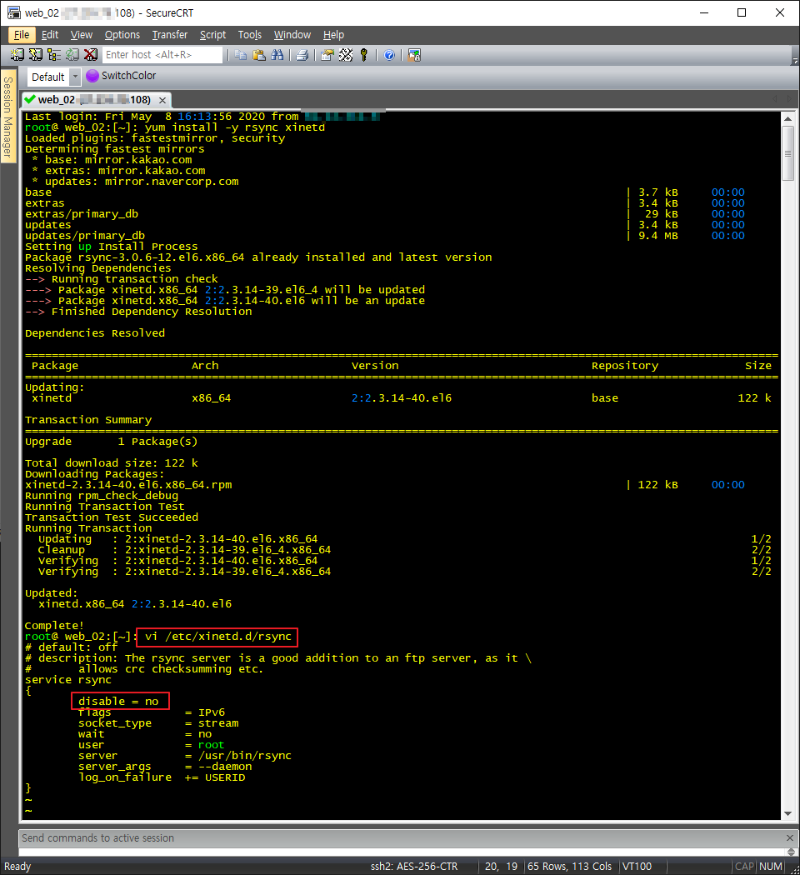
yum install -y rsync xinetd
2) Client rsync 설정
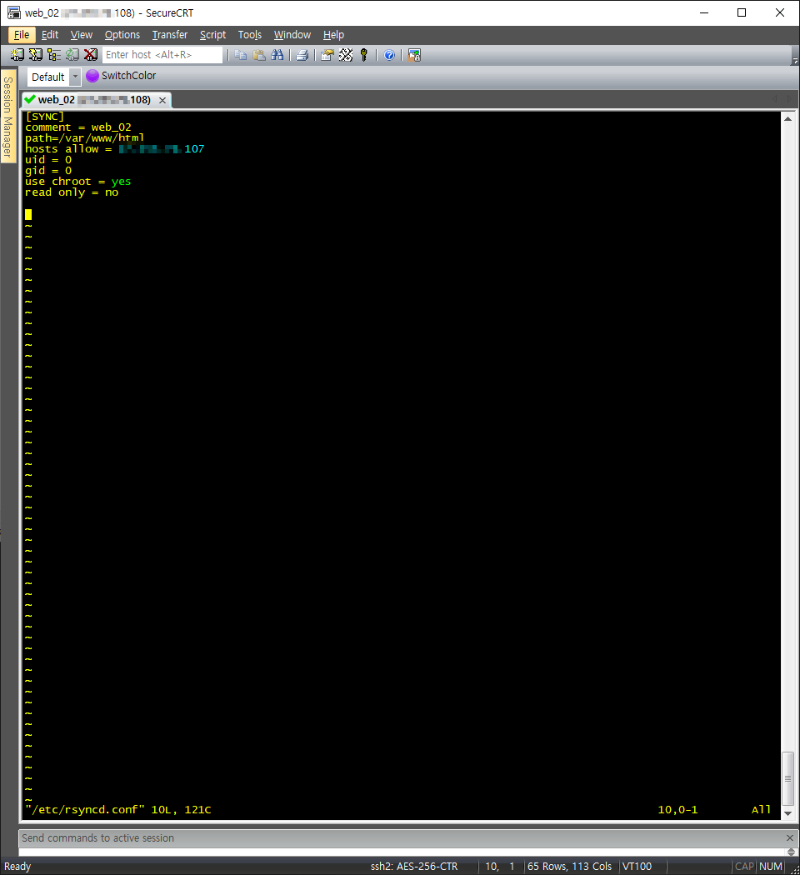
vi /etc/rsyncd.conf
[SYNC]
comment = web_02 (hostname)
path=/var/www/html (path)
hosts allow = x.x.x.107 (lsyncd server IP)
uid = 0
gid = 0
use chroot = yes
read only = no
3) Client iptables 설정 및 적용
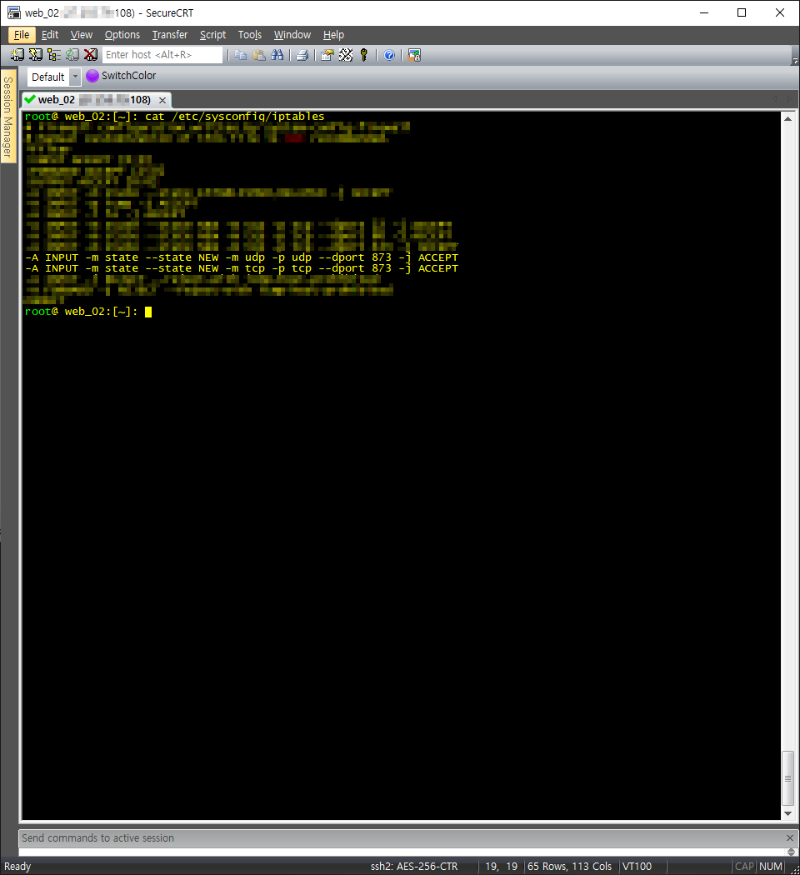
vi /etc/sysconfig/iptables
-A INPUT -m state --state NEW -m udp -p udp --dport 873 -j ACCEPT
-A INPUT -m state --state NEW -m tcp -p tcp --dport 873 -j ACCEPT
wq!
service iptables restart
4) Client rsyncd 설정 및 확인
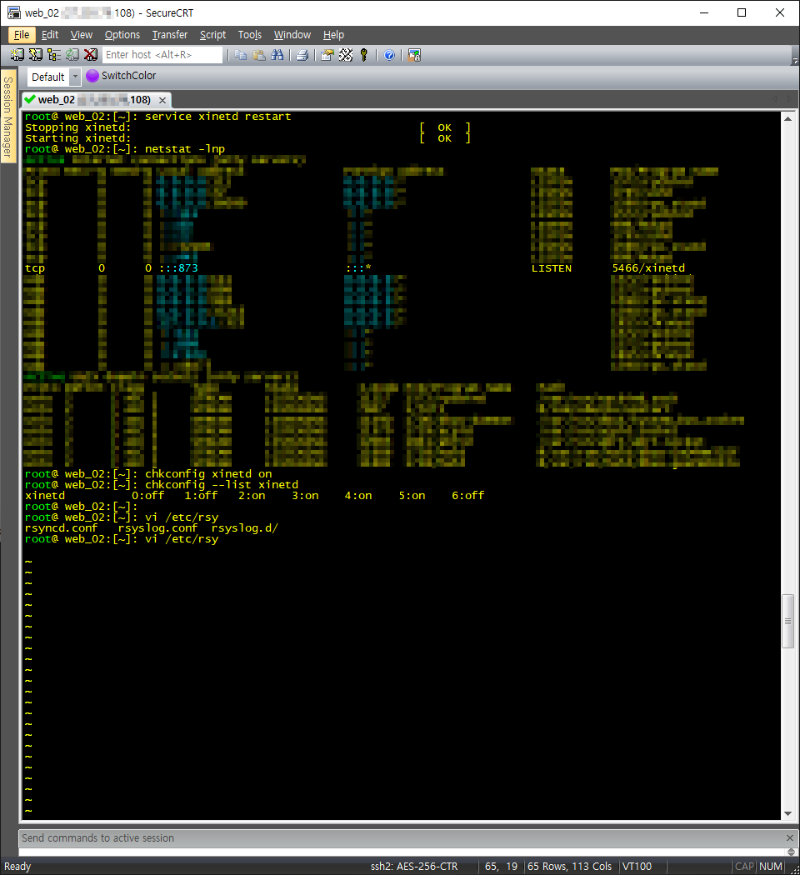
service xinetd restart
chkconfig xinetd on
5) Server lsyncd 설치
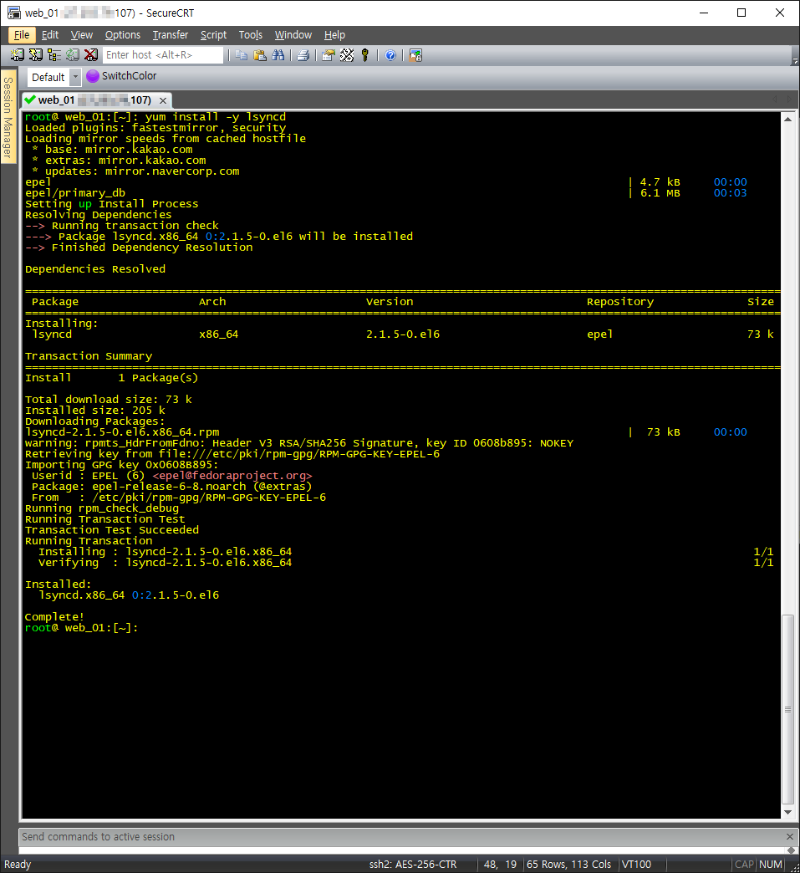
Yum install –y lsyncd
6) Server ssh 인증키 생성 및 이동
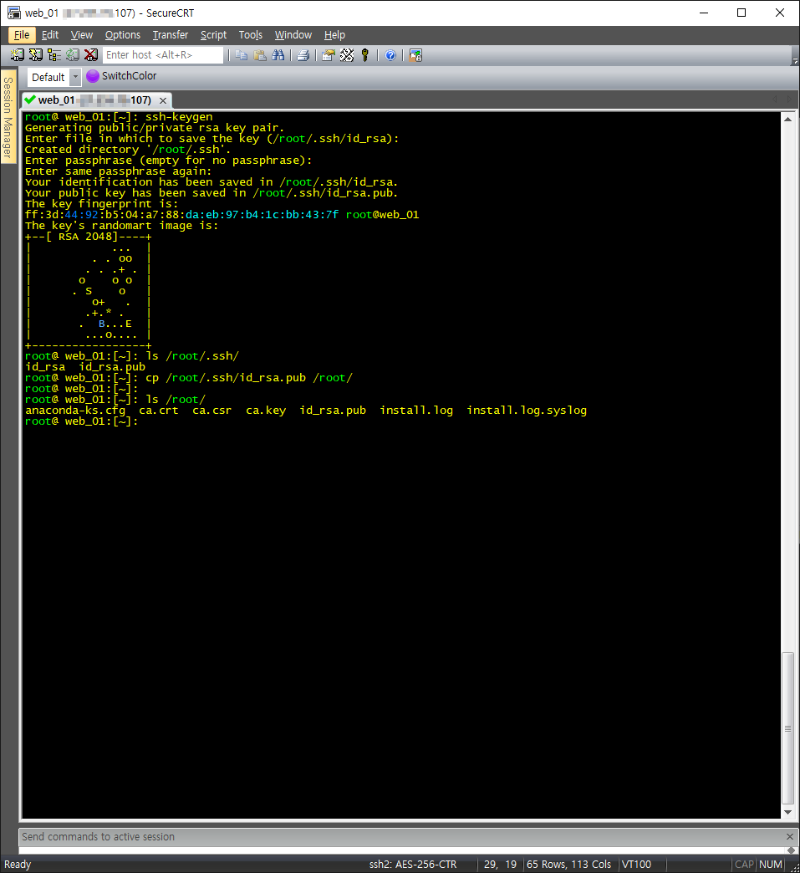
Ssh-keygen
cp /root/.ssh/id_rsa.pub /root/
7) ssh 접속 테스트
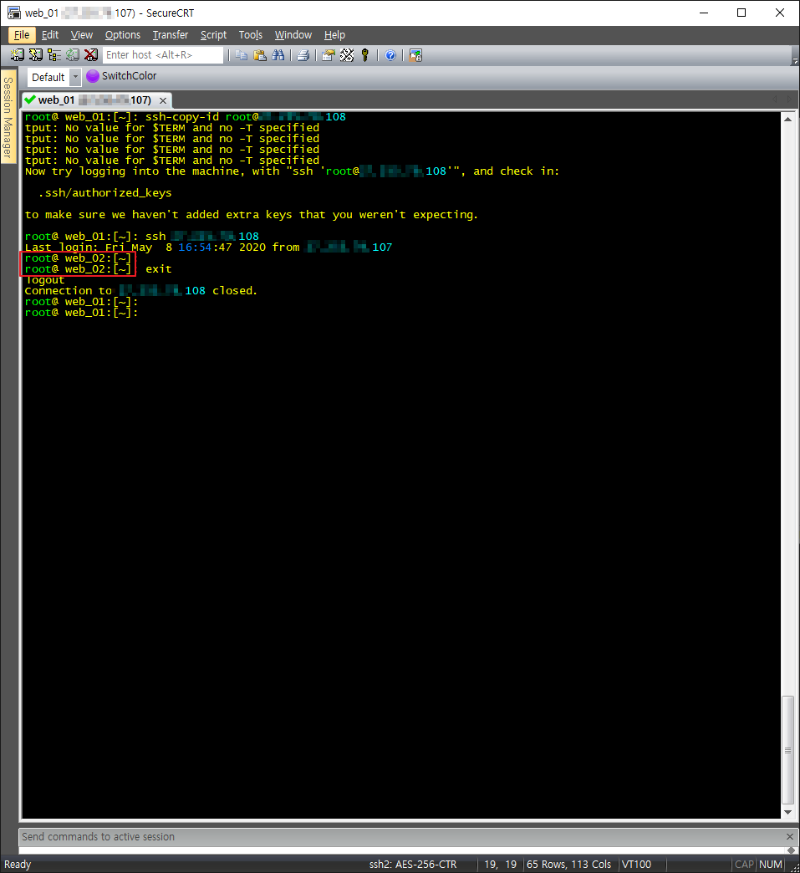 8) Server lsync 설정
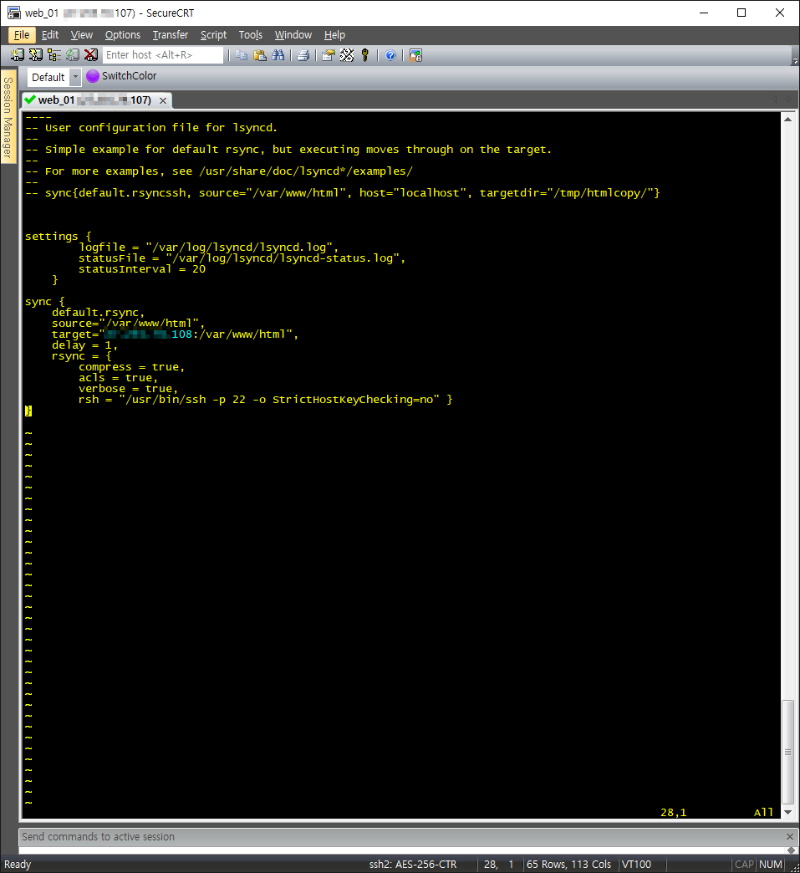
vi /etc/lsyncd.conf
settings {
logfile = "/var/log/lsyncd/lsyncd.log",
statusFile = "/var/log/lsyncd/lsyncd-status.log",
statusInterval = 20
}
sync {
default.rsync,
source="/var/www/html",
target="x.x.x.108:/var/www/html",
delay = 1,
rsync = {
compress = true,
acls = true,
verbose = true,
rsh = "/usr/bin/ssh -p 22 -o StrictHostKeyChecking=no" }
}
9) Server iptables 설정 및 적용
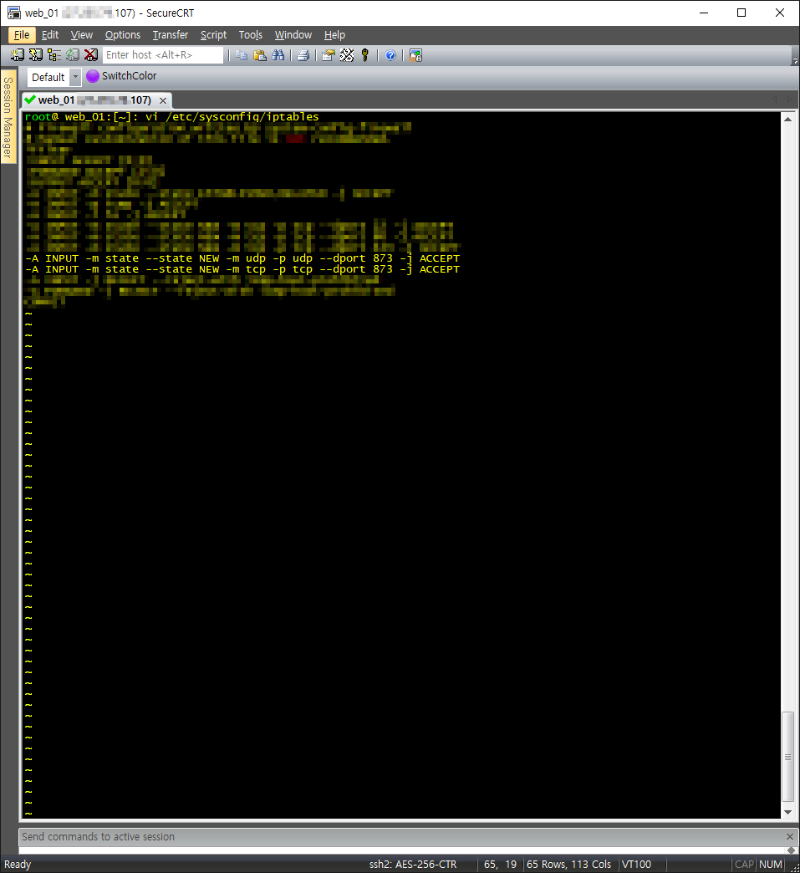
vi /etc/sysconfig/iptables
-A INPUT -m state --state NEW -m udp -p udp --dport 873 -j ACCEPT
-A INPUT -m state --state NEW -m tcp -p tcp --dport 873 -j ACCEPT
wq!
service iptables restart
10) Server lsyncd 설정 및 확인
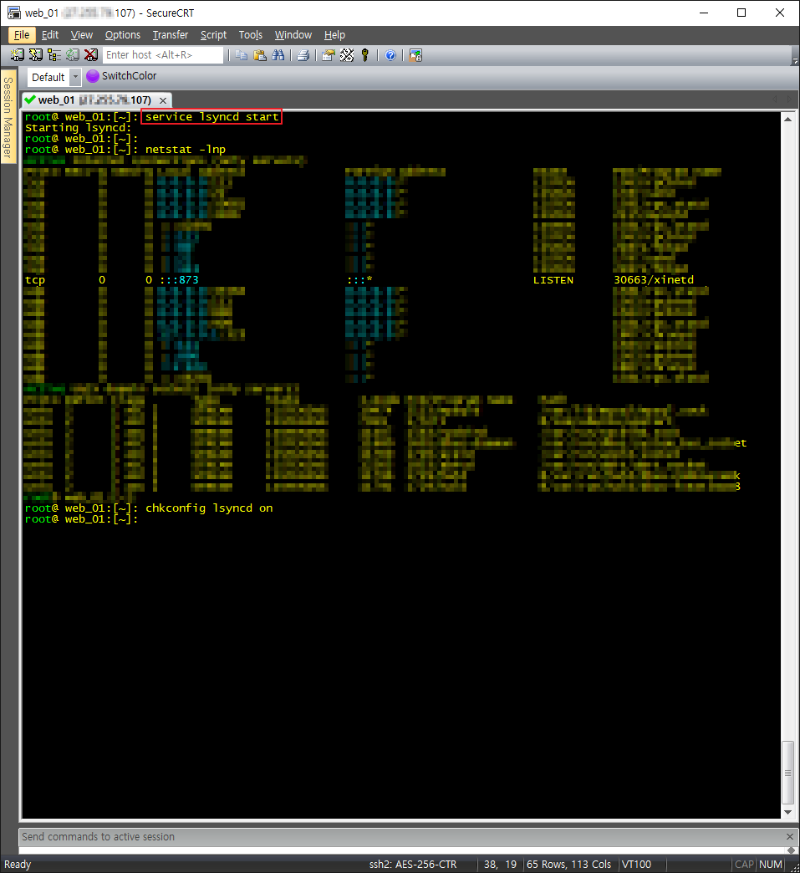
Service lsyncd start
Chkconfig lsyncd on
11) TEST
