SSH 접속 2차 인증(Google OTP)
http://www.aiocp.co.kr (3029)https://www.ehostidc.co.kr/cscenter/consulting.php (2910)
0) 테스트OS |
CentOS 7.8 - root계정으로 진행 Ubuntu 20.04 - user 계정으로 진행 * 별도의 설명이 없을 경우 CentOS와 Ubuntu에 들어가는 설정은 동일 * 로그인을 진행 할 계정으로 작업 진행 필요 |
1) google authentication 설치 |
CentOS yum install epel-release –y yum install google-authenticator -y Ubuntu sudo apt install libpam-google-authenticator -y |
2) PAM 모듈 설정 |
|
vi /etc/pam.d/sshd # Google Authenticator auth required pam_google_authenticator.so nullok * nullok : 리눅스 내의 모든 사용자에게 각각의 'secet key'를 생성하지만, 동일한 secret key를 다 같이 사용하고자 할 때에는 삭제 * Ubuntu user계정 사용 시 sudo 명령어를 앞에 설정 |
3) ssh config 파일 수정 |
|
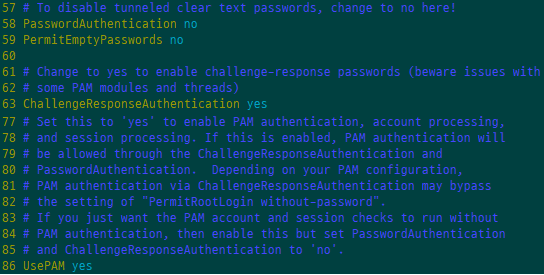
vi /etc/ssh/sshd_config PasswordAuthentication no 패스워드 인증 사용 여부(OTP 인증시에는 사용X) PermitEmptyPasswords no 비어 있는 사용자 암호 허용 여부 ChallengeResponseAuthentication yes 시도-응답 인증 방식을 사용 여부(2-Factor 인증을 위해 필요) UsePAM yes 인증 PAM 모듈 사용 여부 * Ubuntu user계정 사용 시 sudo 명령어를 앞에 설정 |
| 3-1) sshd 재시작 |
systemctl restart sshd * Ubuntu user계정 사용 시 sudo 명령어를 앞에 설정 |
4) Google Authenticator 설정 |
1. 2. 3. 4. 5. |
google-authenticator 1. 인증 토근을 시간 기반(Time-Based)으로 선택 y 2. Secret Key 및 백업 코드 저장 file 위치 확인 y 3. Man-in-the-middel Attack에 대한 예방 옵션 y 4. 시간 오차 또는 왜곡 방지 사용 여부 y * 시간동기화 문제로 인한 인증 실패 방지를 위해 현재 생성된 토큰 이전과 다음의 토큰까지 접속 허용 5. 무차별 대입 공격 방지 사용 여부 y |
4-1) secret key와 Backup-code, Configure 설정 확인 |
|
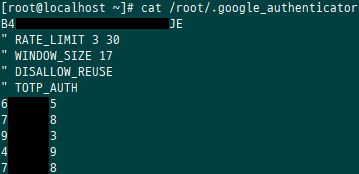
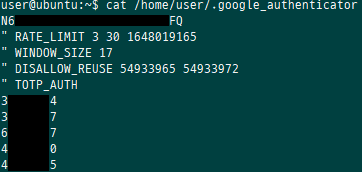
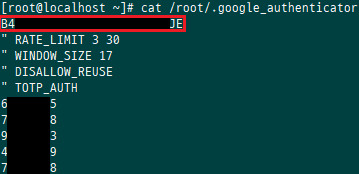
CentOS cat /root/.google_authenticator ubutnu cat /home/user/.google_authenticator * 접속이 필요한 계정에 따라 중간 경로가 달라질 수 있습니다. |
4-2) QR코드 |
|
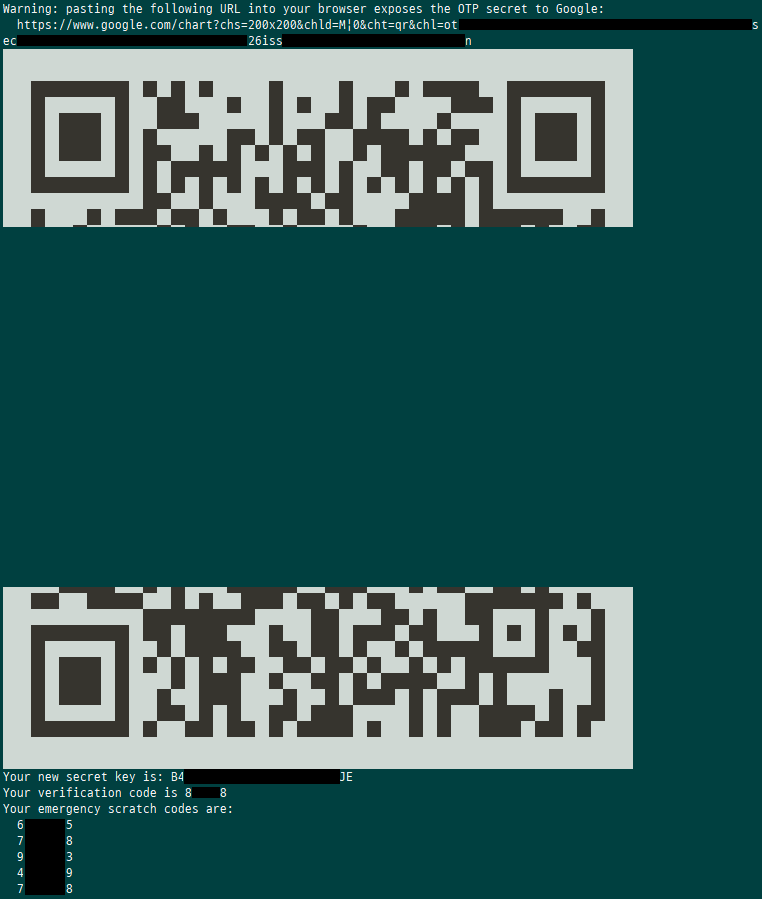
Google Authenticator 설정 중 QR코드 및 Secret Key가 생성된다 |
5) 구글 OTP 설정 |
|
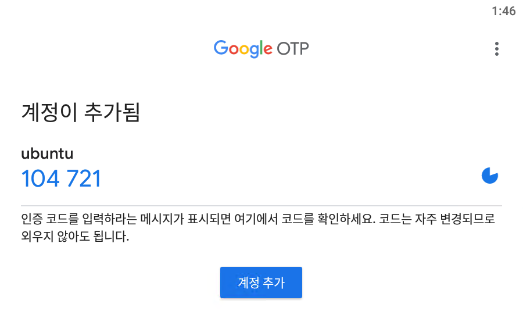
구글 OTP에서 QR코드 스캔 혹은 설정 키 입력으로 설정 |
5-1) 구글 OTP 설정 키 입력 |
|
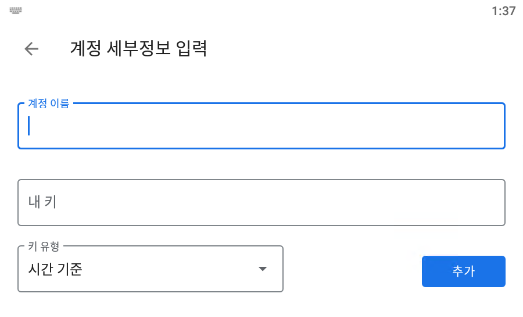
설정 키 입력 시 계정 이름은 원하는 이름으로 작성, 내 키는 cat /root/.google_authenticator 에서 확인 가능 * 접속이 필요한 계정에 따라 중간 경로가 달라질 수 있습니다. |
| 6) 서버 접속(Xshell) |
|
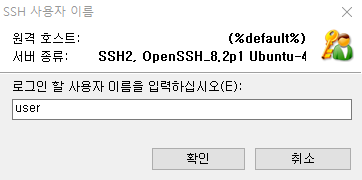
접속 계정 입력 |
6-1) 서버접속(Xshell) |
|
6-2) 서버접속(Xshell) |
|
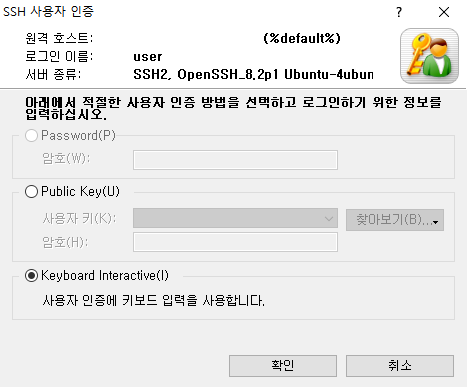
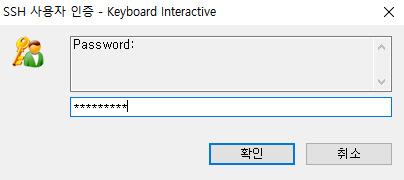
접속 패스워드 입력 |
6-3) 서버접속(Xshell) |
|
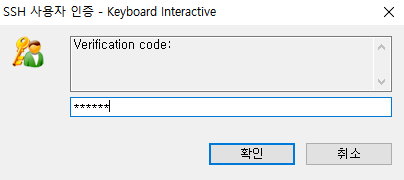
OTP 입력 |
6-4) 서버접속(Xshell) |
|
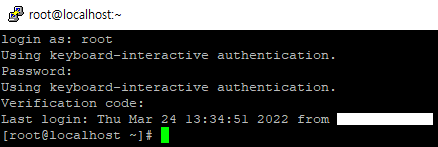
접속 확인 |
6-5) 서버접속(putty) |
|








가입하고나서 윈도용 클라 설치후 추가할떄 RDP가이드대로 하면 로컬이랑 원격 양쪽 다 적용됩니다